As we head into the autumn soil recording season, we’ve been taking a look at the data coming through our portal and reviewing some of the factors that can affect recording quality.
And, if we were an earthworm right now, we’d probably be staying well below the surface until we’ve had a significant amount of rain. It’s hot, it’s dry and, in many areas, the topsoil is so compacted or dusty that there are very few non-flying invertebrates to detect. But that doesn’t mean there’s no value in recording.
If you’re part of a long-term monitoring programme and taking regular monthly recordings, your data continues to build an important picture of how soil biology responds to changing conditions. In fact, during a pan-European study last year, the hot, dry summer revealed something particularly interesting: biology in fields under regenerative practices appeared to be more sensitive to changes in temperature and moisture than biology in traditionally farmed fields. More on that another time…
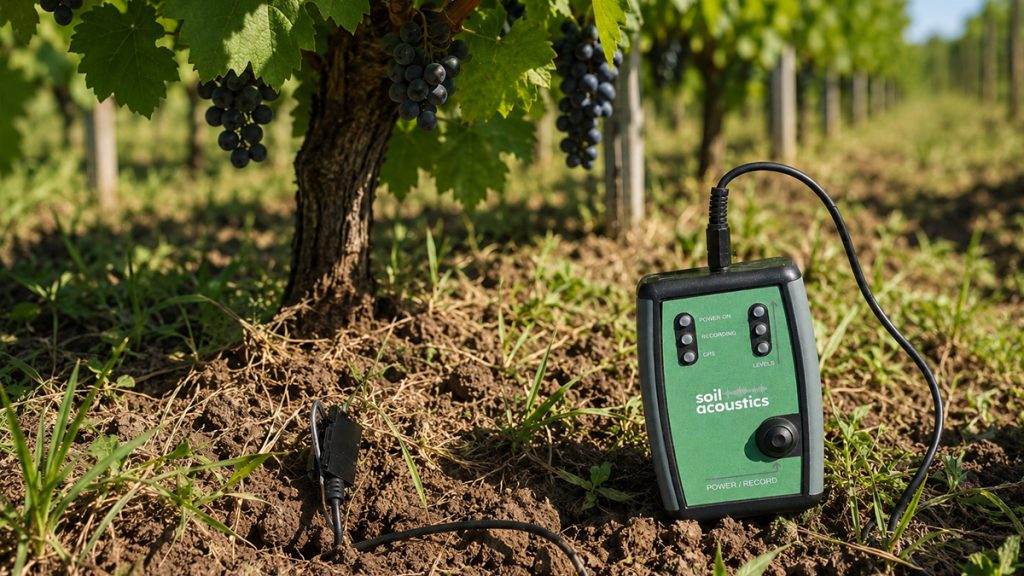
For now, as we move into September and beyond, here are some practical tips to help you get the best possible data from your Soil Acoustic Meter (SAM).
Three Simple Ways to Improve Your Soil Recordings
1. Stay still and stay quiet
Sssshhhhh… we can hear you!
This is one of the most important things to remember when taking a recording.
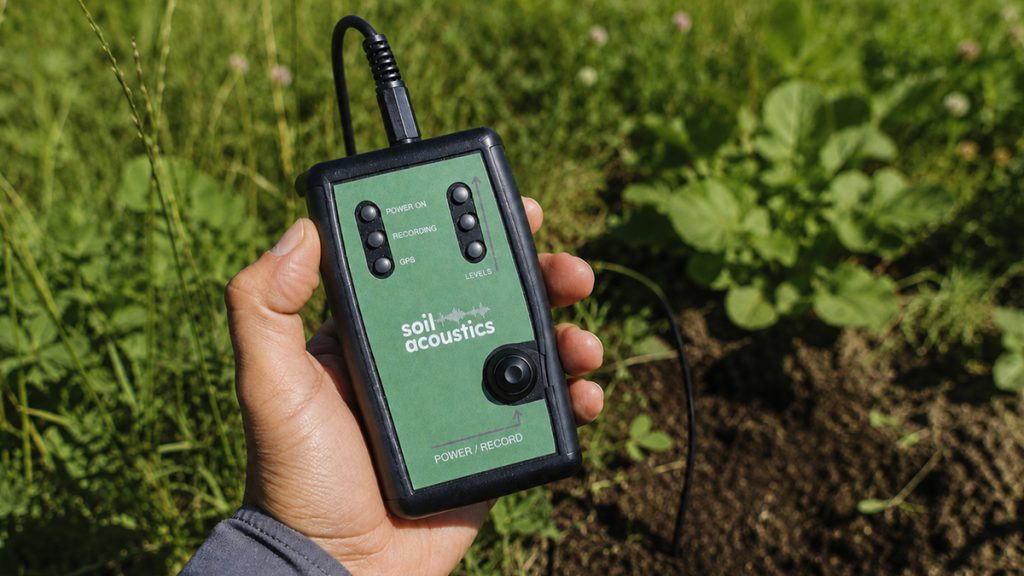
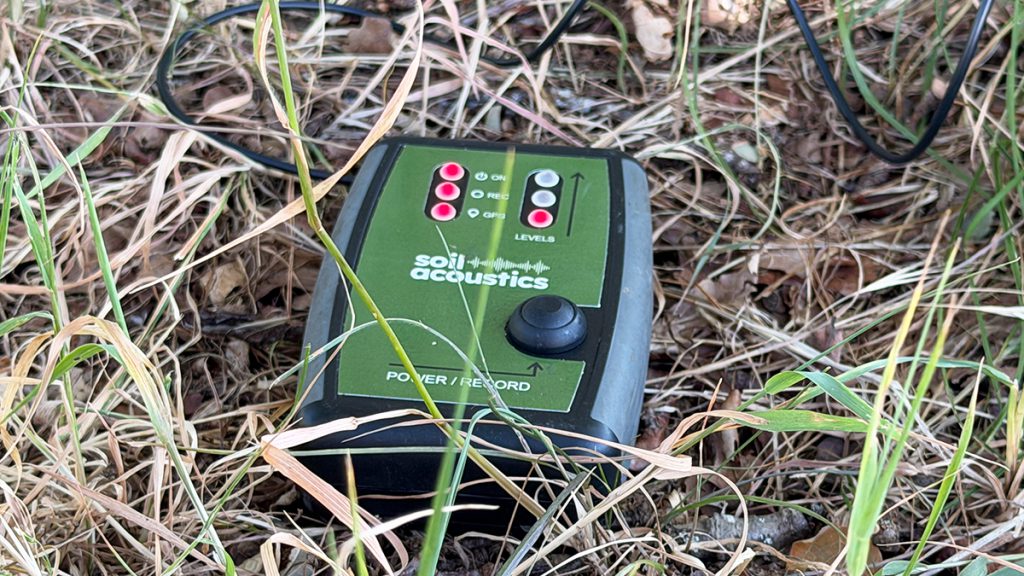
We know it can be tempting to have a chat with a colleague or take a quick phone call while you’re out in the field. But the large orange section at the top of your Soil Acoustic Meter is a microphone, so it can pick up much more than the sounds of soil biology. It can also hear you.
Conversations, phone calls, footsteps, wind and rain can all be picked up by the microphone and potentially affect your recording. So, when you press record, be zen. Meditate. Look at the clouds. Think about what’s for tea – just don’t discuss it!
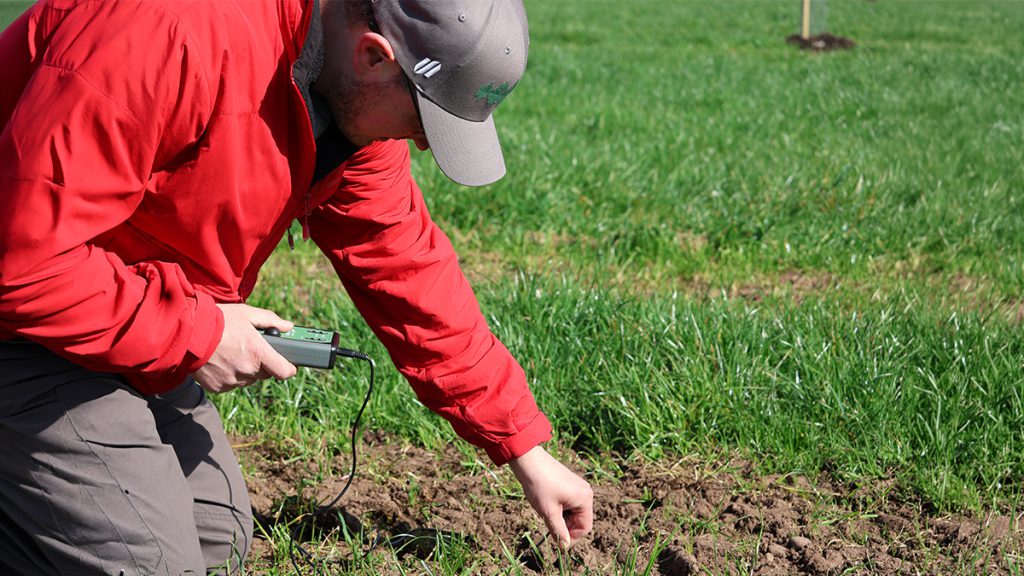
We recommend stepping away from the meter by around two metres while it records. The further you can get from the microphone and the quieter you can be, the better.
2. Consider the weather
We know this can be difficult if you only have a limited window in which to get out and record, but weather conditions can make a real difference to your results.
Dry days are best for soil recordings. Wind, particularly when you’re sampling in long grass, and rain can both be picked up by the microphone and skew your scores. Extreme temperatures can also affect invertebrate activity, so it’s worth considering the conditions when deciding when to sample.
Of course, we can’t control the weather. If you’re carrying out long-term monitoring, the important thing is to keep recording consistently and take the conditions into account when interpreting your data.
3. Stick to your sampling cadence
We recommend taking 10 samples per setting in a ‘W’ pattern.
Why 10? Because soil biology is naturally variable. Taking multiple samples gives you a more representative picture of what is happening within the same area, whilst also giving you some resilience if one or two recordings are unusable.
A single recording, or a very small number of samples, simply won’t tell you very much about the biology beneath your feet. Consistency is key, particularly when you’re building a long-term dataset.
Need Help in the Field?
If you received your Soil Acoustic Meter in its original box, you should have found a Quick Start card containing a QR code linking to our WhatsApp support community.
We’d recommend joining the group. It’s the quickest way to get help with questions you might have while sampling or uploading your data, and it’s also a great place to share tips, observations and experiences with other SAM users.
If you’ve lost your card, or didn’t receive one, just email info@soilacoustics.com with your mobile number and we’ll add you to the community.
Soil Acoustic Meter User Guide
There’s also a full Soil Acoustic Meter User Guide available to download from our website here.
We’ll also be releasing a new series of ‘How To’ videos shortly, covering everything from getting started with your SAM to understanding what you’re actually listening to. If you have a question in the meantime, get in touch. Whether you’re wondering how to fit the batteries or what all those sounds mean, we’re interested in hearing from you.
Uploading and Analysing Your Recordings
Once you’ve taken your recordings, the next step is to upload them to the Soil Acoustic Meter data analysis portal. The portal allows you to upload, classify and analyse your soil sound recordings, helping you build a picture of soil biology over time.
Once your account is set up and you’ve taken some test recordings, connecting your SAM to your computer is simple. Use the supplied USB-A to USB-C data cable, and your Soil Acoustic Meter will appear as a separate drive on your computer.
We recommend uploading a few test recordings first. Before heading out for a large sampling session, it’s worth uploading a few test recordings. This gives you an opportunity to familiarise yourself with the portal and decide how you want to label your recording batches and classify different field types.
There are three classification sets available:
- Standard UK Habitat
- Biodiversity Net Gain
- Bespoke classification sets for food producers, available on request
When you set up your account, we’ll allocate the most appropriate classifiers for your needs. Whether you’re an ecologist, agronomist or food producer carrying out large-scale analysis across a farm, we can make sure you have the classifiers that are most useful to you.
Uploading Your Recordings
The basic process is:
- Plug in your SAM using the supplied cable.
- Log in to the data portal.
- Create or select a Location Name.
- Name your batch of recordings.
- Classify the batch.
- Select the relevant recordings and upload them.
- View your Soil Acoustic Quality Index score.
As your recording database grows, you can start to compare multiple batches from the same location or compare different locations against each other. Over time, this can help you build a much clearer picture of how your soil is behaving under different conditions and management practices.
What’s Next?
As the autumn testing season gets underway, we’ll be sharing insights from our growing database of more than 4,000 soil recordings, including some of the patterns we’re seeing across different environments and management systems.
So keep recording, keep your data consistent and, most importantly, keep quiet whilst the SAM is listening!
If you’d like a demonstration of the soil analysis portal or want to talk to the team about bespoke classifiers, get in touch at info@soilacoustics.com.
Want to Get Started with the SAM?
You can order your Soil Acoustic Meter directly from the Soil Acoustics shop here.